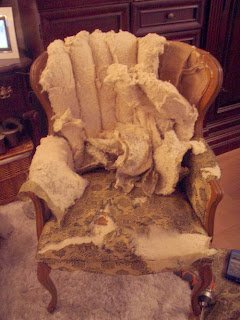
My tools of destruction.
So it was repaired with a screw and some glue.
New under pad on the seat and back.
I painted the frame then distress the frame.
Cut a new piece of foam for the seat and
continued to upholster the seat and the arms.
continued to upholster the seat and the arms.
Then upholster the front of the back
DO NOT UPHOLSTER THE BACK.
The trick to button tufting is to have something
solid at the back to secure the buttons to.
I relied on the wood uprights on this chair.
Here are my nifty supplies and tools.
Upholstery buttons (used - keep everything right)
Green tape
Flexible wire
My homemade upholstery needle
*your needle must be sharp and strong*
*your needle must be sharp and strong*
Recover the buttons with new fabric
I used the same fabric, you could choose a
complementary fabric.
I used the same fabric, you could choose a
complementary fabric.
Make sure the back loop is exposed.
Cut your wire to approx. 12inch
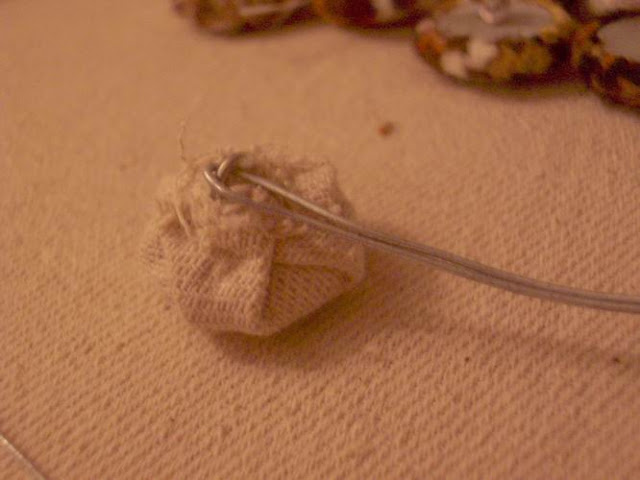
Thread your cut wire through the button loop.
Using your large needle
skewer your upholstery from front to back.
With my SLEIGHBED
I had to start skewering at the back because
holes were already drilled in the wood.
Now tape the wire to the end of your needle.
skewer your upholstery from front to back.
With my SLEIGHBED
I had to start skewering at the back because
holes were already drilled in the wood.
Now tape the wire to the end of your needle.
DO NOT USE A LOT OF TAPE.
Try to keep the thickness as thin as possible to get it
through the layers of fabrics smoothly or else it will
get caught up and the wire will seperate from the needle.
You want to get it thru the first time, everytime.
Try to keep the thickness as thin as possible to get it
through the layers of fabrics smoothly or else it will
get caught up and the wire will seperate from the needle.
You want to get it thru the first time, everytime.
Now gently pull and wiggle the needle and wire through.
Once thru remove the needle and push the button
firmly into your upholster to a desired depth and twist
your wire at the back. (an extra thumb is helpful to push)
Oh George !!! ......
If you were working with upholstery that was already tufted
there would be something in place to tie the wire to.
For 2 of these buttons I wrapped it around the wood
For 2 of these buttons I wrapped it around the wood
frame then tucked it safely out of the way.
For the lower 2 buttons,
I used 3 staples to secure the wire to the wood.
My PARLOUR chair
had ridged burlap (like it was painted with glue) running from
side to side that the wire poked thru then twisted
around small nails. The burlap seen in this chair
was too soft and flexible to use that way.
Once you have all your buttons in place and secured,
finish upholstering the back of your new furniture.
I prefer the look of only 4 buttons with this piece.
You can do as many as you like.
If I missed anything plz ask.
For an indepth upholstery tutorial on a slipper chair
plz check out GINA's
ongoing upholstery chronicles:
I've shared this tutorial at:


No comments:
Post a Comment