Showing posts with label faux finish. Show all posts

Monday, December 19, 2011

MARBLE MASTERPIECE - george's old dresser


The OLD WORLD style dresser is complete.

We'll I'm still going to lay a few more coats of poly on the top as long as it is here.
It has at least seven coats now but a few more won't hurt as
I want a nice glassy finished look to the faux marble top.
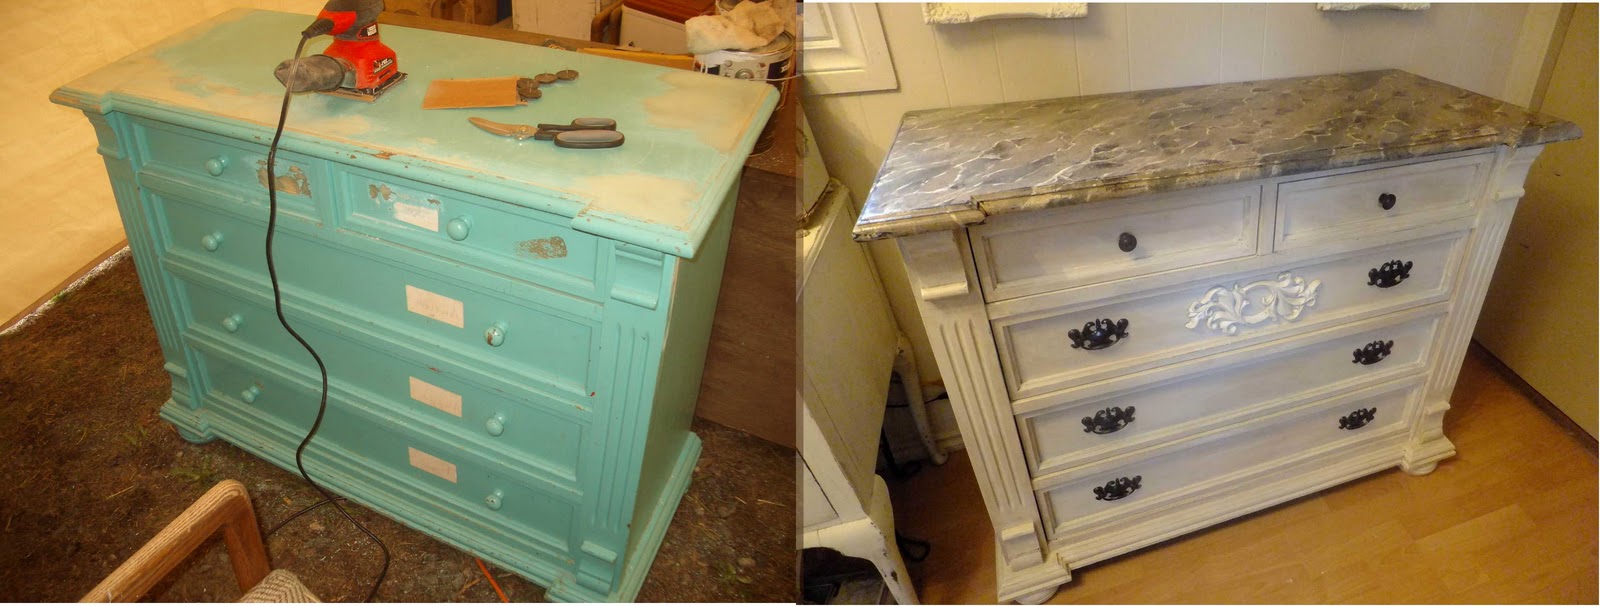
BEFORE               and                    AFTER
George and I got this dresser several years ago when we first started playing house,
and yes it was bright teal when we got it!

It now looks luscious but this makeover also has an in between photo.

At the time I had a full time job and a can of brown AURA paint by Benjamin Moore.
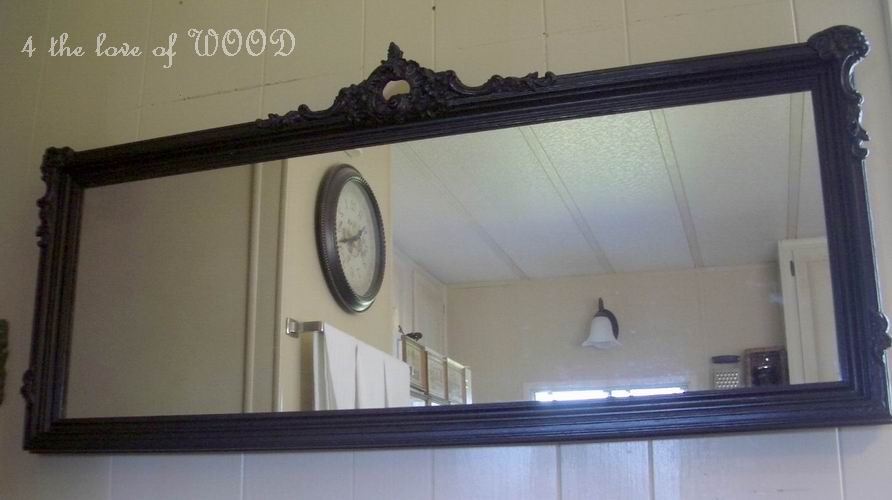
I put the embellishment on it and paired it with a mirror I found, painted it all and it served us well.

Since we redid our dressing room last year it really has not had a place here any more.
So it was time to move on and let it go to a home where it can be used again.


The Georgian style hardware I used was sprayed with OIL RUBBED BRONZE
from Rustoleum. It's a delicious metallic chocolate color.


And the part most of you are waiting to see ...
The faux painted marble top.
Long ago I learned to do this and did it very successfully
on my bathtub surround.
If I ever come across photos of it I will be sure to share.


One more surprise ...
The bright teal is also inside and still lining all the drawers.
How fun is that?
Traditional outside with a bit of fun inside.


The body color is ASCP old white with Minwax dark wax over top.

Sharing at:
PhotobucketMake it Yours @ My Backyard Eden

Tuesday, August 9, 2011

A LITTLE MILK PAINT - turquoise country cabinet


I used a little sea green milk paint to achieve a great antiqued or aged effect
on this country cabinet I finished.


It didn't start out this nice.
This photo below was taken after 12 hours of repairing, priming, and replacing hardware.


The upper shelving had a missing bit I had to manufacture.
The chest top needed some repairs as well.


Once I had it all primed I distressed it pretty heavily.

I then sprayed a splatter coat of the Sea Green Milk paint over the entire piece,
which even crackled around the handles.

Photo of the Milk Paint Coat was corrupted but you can see the cracking here in a final photo.

Next I tinted more white primer with turquoise
I used 2 pots never fully mixing it so I would have a varying finish in the color.


Sanding all the way thru.


 I prefer to distress after each coat adding to the depth of the finish.


I used the backer board for the top off a spare parts hutch.


I sanded it, primed it, painted it, distress it, stained it, and finally waxed it all before installing.
It's much easier that way but I know it doesn't sound like it.


Before installing the backer I had to stained and wax the rest of the piece,
it did probably take over 2 hours, pheewwf.


I'm giddy with how she turned out,


Double plate rail, you couldn't ask for anything more.


Look at those curves ......... in the wood I mean.


Sharing with:
Beyond The Picket Fence36th AvenueMiss Mustard Seed's Creative Blog

Sunday, April 17, 2011

BUFFED BUFFET - black and faux seal antique buffet

The veneer was cracked, lifting, and missing on the
 top surface of this old buffet when we got it.
It was also in it's original brown stained finish.
*Sorry no before pictures* 


The mirror was purchased at a local antique store,
 and was the perfect size to match up with the buffet.
It was gold and the elaborate decorations were
 chipped and broken.
*Sorry no before photos*


I had removed all the veneer on the top of the buffet
 a year earlier but the gouges and missing wood was
 just not going to match with the sleek black look I
 was now wanting.
The day I was working on the top I had gotten
 interrupted by the cable man come to rewire some
 connections, and really that was the main cause for
 the end result of what you see in these photos.


It was one of those trial and error projects.

In a moment of surprise this faux seal skin look magically
appeared on the top. Some have compared it to marble.  

I'm going to explain how the top was finished in
 point form in the hopes it is easier to follow:
  1. I filled the gouges with white wood filler
  2. then painted it black
  3. next spray painted with metallic silver
  4. then belt sanded the whole surface
  5. 6 layers of clear coat

I had started spraying the metallic silver on the top
 over the black thinking if I don't like it the acetone
 is right handy to wipe it off. I had forgotten about
 the cable man coming and when he arrived in the
 middle of this process I had to walk away without
 seeing what it looked like. Well once he was done
 the paint was also now dryish. I hated it! It looked
 tacky! In my anger I grabbed the belt sander with a
 35 grit belt (very coarse) and started trying to
 remove everything. This is when this beautiful
 finish started to come thru. 

You can find more piece finished in black here.

Sharing this mistake at:
Funky Junk's Sat Nite SpecialPhotobucketPhotobucketHookingupwithHoHFurniture Feature FridaysLINKPARTYBUTTON