Showing posts with label primer. Show all posts

Thursday, August 25, 2011

DEAD COMPRESSOR - renate's headboard


It all started with this 70's oak headboard.

Okay maybe I jumped the gun here, I suppose it really started with a drawing of a headboard.


A drawing with custom measurements.


So back to this headboard.


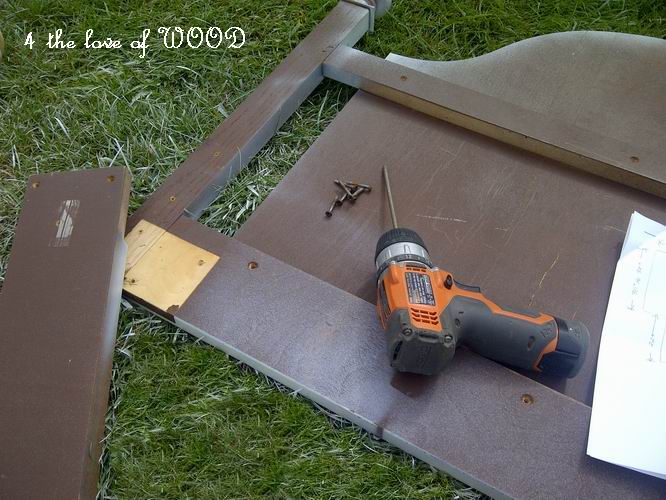
Every element of it was dismantled with a robertson driver.


Considering I had received such detailed measurements I had to wait for the right piece to come along.


Many of the pieces were cut to fit the new configuration.


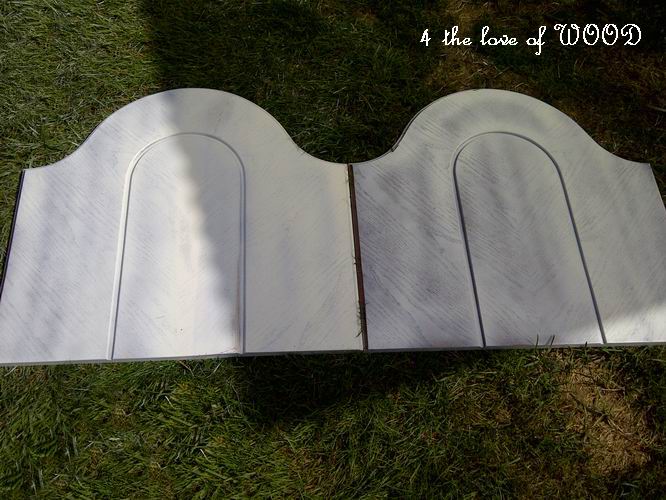
The face sheilds were brought together.


Priming continued.


The legs were extended 2".


Extra bits were all brought together to fill out the height requested.


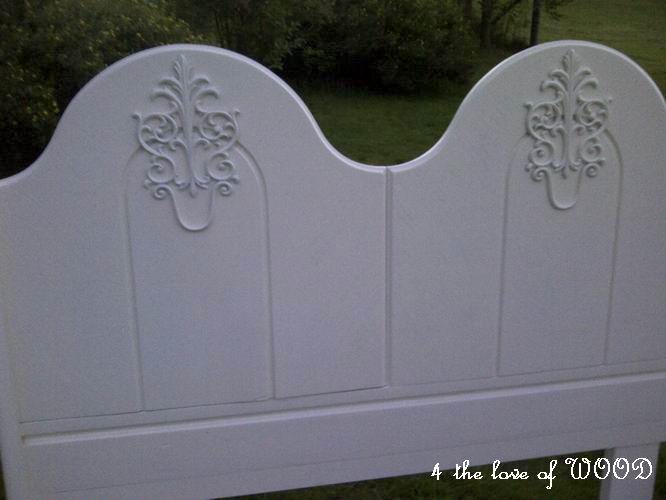
Some fancy had to be added.


In the form of wall candle holders I found at the second hand store.


They originally had baskets screwed on the front for the candle to sit in.
I removed the baskets and used the holes to attached them to the new headboard.


But alas I only got the primer coat finished before my compressor kicked the bucket.

So once the new compressor gets open and the final finish is applied, this is really
all you get to see.

Tuesday, August 9, 2011

A LITTLE MILK PAINT - turquoise country cabinet


I used a little sea green milk paint to achieve a great antiqued or aged effect
on this country cabinet I finished.


It didn't start out this nice.
This photo below was taken after 12 hours of repairing, priming, and replacing hardware.


The upper shelving had a missing bit I had to manufacture.
The chest top needed some repairs as well.


Once I had it all primed I distressed it pretty heavily.

I then sprayed a splatter coat of the Sea Green Milk paint over the entire piece,
which even crackled around the handles.

Photo of the Milk Paint Coat was corrupted but you can see the cracking here in a final photo.

Next I tinted more white primer with turquoise
I used 2 pots never fully mixing it so I would have a varying finish in the color.


Sanding all the way thru.


 I prefer to distress after each coat adding to the depth of the finish.


I used the backer board for the top off a spare parts hutch.


I sanded it, primed it, painted it, distress it, stained it, and finally waxed it all before installing.
It's much easier that way but I know it doesn't sound like it.


Before installing the backer I had to stained and wax the rest of the piece,
it did probably take over 2 hours, pheewwf.


I'm giddy with how she turned out,


Double plate rail, you couldn't ask for anything more.


Look at those curves ......... in the wood I mean.


Sharing with:
Beyond The Picket Fence36th AvenueMiss Mustard Seed's Creative Blog

Wednesday, March 16, 2011

SIGNATURE WHITE PAINT FINISH - email answers

Thank you for your emails and the complements.
I'm so very glad I have inspired you as so many
 inspire me on a daily bases.
My signature *white* is a custom color I have
 mixed at Cloverdale paint, a Canadian company.

  • It is a creamy white semi gloss latex.

  •  It can be used in white or off white decorating.

  • It gives the finished piece a sophisticated look.


The process for my signature white is quite
 detailed as I'm looking for a smooth, clear, long
 lasting finish. Rather then a distressed
or antiqued look.


 I do distress some of these pieces, however it
 is usually only lightly distressed and most steps
are still followed.

The real trick to the signature finish is the primer.
  1.  My primer is tinted a shade lighter then the paint.

  2. I use more coats of primer then paint. 

  3. Primer dries quickly.

  4. Primer will show imperfections still needing attention.

  5. It is easy to sand between coats.


Primer smooths the undersurface of the finish,
 similar to way we woman use foundation make-up.


Pictured here is a grey primer I usually use for darker colors.
I prime a minimum of 3 coats with a quality brush.
 I use a brand sold at HOME DEPOT called
 Performance Select SILVER. What determines
 when I have enough coats of primer is if the piece
 looks finished. The resulting 2 to 3 coats of paint I
 then add smooth the top surface and make it easier
 to wash or wipe later and of course
the final color and gloss.

 Latex paint takes 28 days to fully cure so you must
 be careful with your top surfaces once completed
 with adding accessories such as lamps and decor.
 One helpful trick is to add an
 additional clear coat. With painted white surfaces
 it can be a pain to get a brushed clear coat on with
 out little dust (black specks) getting onto the
 surface either from the air, the brush being used or
 just from you moving over the piece as you do it,
 but it can be done being aware of these issues.


 Another alternative is to stain the top surface with
 a rich dark walnut which ends up looking stunning
 against the creamy white and then a clear coat
 is much easier to still add.

Hope this helps with your current projects!
Plz leave your questions below and I'll be
happy to respond.