I've read in the past some ppl don't change
hardware during their painting revamps because they don't know how to get a clean
smooth finish for their paint.

No more excuses,
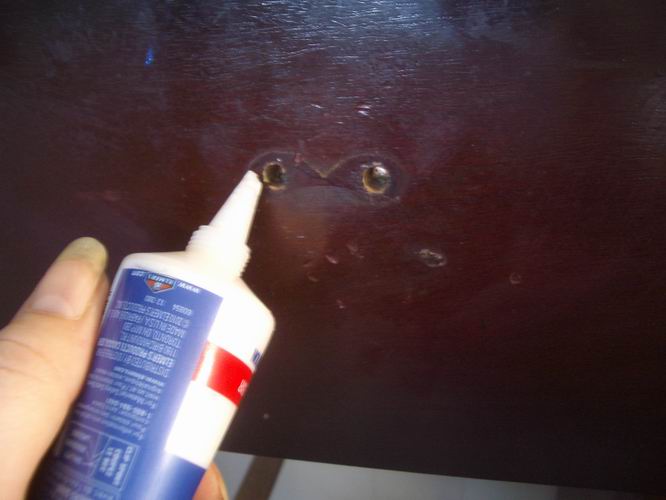
simply start by filling your holes.
simply start by filling your holes.

Make sure it goes deep inside and
mounts up on the outside.


After 30 minutes cut the tops off.
We'll see little air pockets in the hardend filler.
Now refill.


Push your finger into the filler and gently spread
it out as seen above. Do not push your finger thru to
the surface. You're only trying to fill the little air
bubble created by the first filling.
bubble created by the first filling.
After 30 minutes sand 150 grit. Always sand too
much, it is easier to add more then to take away
once you have started painting.

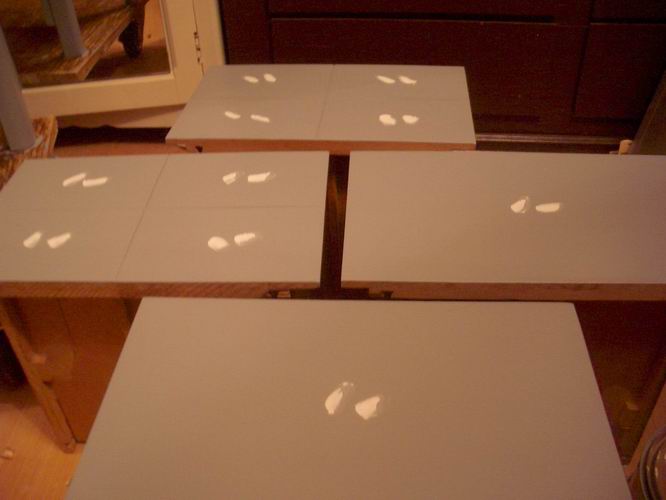
Do it again.
Fill, spread, wait, sand.


The actual work takes no time.
Just the drying time.
Here you can see how it has filled in all the
imperfections around the hole created by
the neck of the knob bitting into the wood.
the neck of the knob bitting into the wood.

Another trick is to prime after the first or second
filling. This offers you a greater visual as to how
much more filling is needed. You can continue
filling, spreading, waiting, and sanding after
priming.
Is this tutorial going to be helpful to you?
Have you been successful at filling hardware holes?
Have you not been so successful?
I've offered this tutorial at:


I've offered this tutorial at:

No comments:
Post a Comment