I've made these instructions as detailed as I can,
however this is really a simple project.

Clean your furniture with a de-greaser,
I use Windex multi surface grease cutter.


Prime with one quick coat of grey primer.

Distressed your edges and sand all surfaces smooth.

Thin your white water based primer till it is the consistency of milk.

Have a spray bottle of water ready to thin
your primer more while working.

Start by practising your technique on the top surface.


different look then the body. Which I did do on
this piece as you'll see at the end.

Have a cloth or sponge handy to help move the
primer around. ALWAYS move in the direction of
the wood grain and start slow you can always add
more, which I ended up doing twice to get the look I wanted.
Pictures speak louder then words:


After the entire cabinet has the depth of white you
want, distress all the edges and high points again.
Because we distressed before adding the white
layers this step is quick and easy.


I wanted a bit more of a punch to the top surface so
I added a dark walnut gel stain to the top right over the white.

While the stain was still tacky I saturated it with
more white primer. And I mean I poured the remainder
of the bowl on the top and spread it from side to side.
more white primer. And I mean I poured the remainder
of the bowl on the top and spread it from side to side.

(sorry no photos of this step as it is messy)
Water base primer won't normally adhere well to an
oil based stain that is why I did it while it was
tacky. Next using a sponge I lightly dragged
it across the top to remove the excess primer but
leaving this beautiful finish.
oil based stain that is why I did it while it was
tacky. Next using a sponge I lightly dragged
it across the top to remove the excess primer but
leaving this beautiful finish.

Here you can see the top has a darker tone then the
side. You never know I might go back and do the
sides as well. The top turned out so gorgeous!

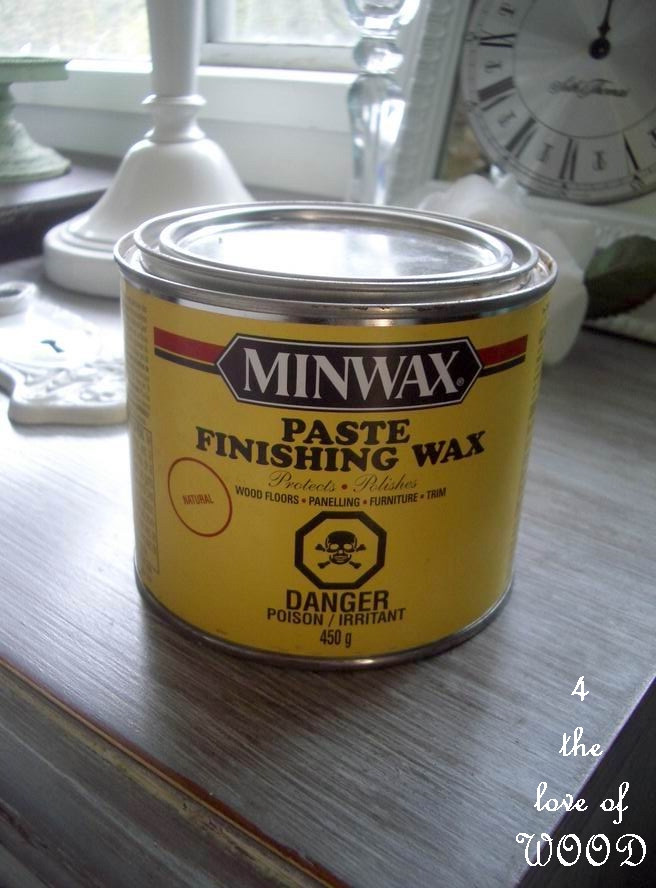
The final step was to wax and buff the whole piece.
Things to note:
- stain embeds into primer much quicker then into
paint, so your working time is only seconds
- if you're painting on solid wood pieces remember
you can fix anything you don't like


No comments:
Post a Comment